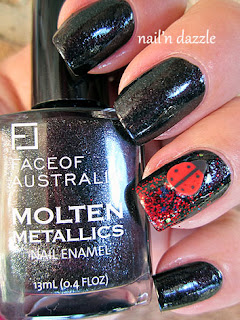
This
is a really basic attempt at nail art, but I've been in the mood for a
crafty mani lately and I think I found my fix. How did I do it?
After
completing the application for Iron Ore (two coats and a top coat), I
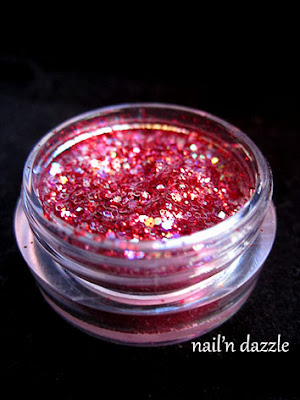
dipped the tip of my ring finger downwards into the glitter pot. For
those who are looking to try and fiddle with glitter, I find this way to
be the least messiest method.
To
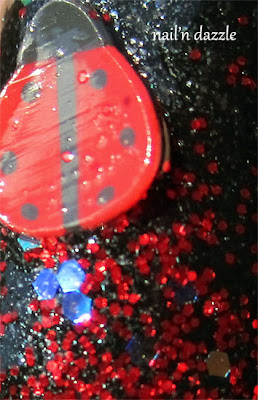
attach the ladybug piece, I waited for the topcoat that had bonded the
glitter to completely dry and dabbed a little bit of an old OPI gluggy
topcoat I have (I have kept it just for these type of occasions lol).
Then, finally a second topcoat!
You
don't always have to put a topcoat over the nailart. Especially with
chunkier nail art, it is often applied as the final touch. But as you
can see in the photo's of the ladybug pot, the ladybug's are matte and
appear rubbery. I knew that by adding the topcoat, it would make the red
on their wings pop in colour and shine. More importantly, the topcoat
will keep them secure on my nails - and hope that they can survive the
weekend!


So cute and yet elegant at the same time. I love it!
ReplyDeleteSorry, that was me :-)
ReplyDeleteSheila
Hehe thanks for your comment! I liked it too, it was fun! I love ladybugs, hopefully I'll be able to find some dragonfly nail art too someday!!
ReplyDelete